Best Practices for Sprinkler System Installation in Rhode Island for Homeowners and Businesses
A best-practices approach to sprinkler system installation combines proper design, regulatory compliance, and installation techniques tailored to Rhode Island’s climate and water regulations to deliver safe, efficient, and durable irrigation. This guide explains what homeowners and business owners need to know about sprinkler installation in Rhode Island, covering licensing and permits, site assessment and hydraulic planning, installation steps, and realistic cost drivers. Many property owners face confusion about backflow prevention, local permitting, and choosing the right heads and smart controllers for seasonal conditions; this article answers those concerns with local context and actionable steps. You will learn how to assess soil, pressure, and layout for head-to-head coverage, what permits and backflow measures are typically required, and how smart irrigation can reduce water use and operating costs.
The sections that follow explain why professional installation matters, how to design systems for RI lawns, the step-by-step installation process, and typical residential cost ranges with smart-irrigation ROI. Throughout, keywords like sprinkler installation Rhode Island, backflow prevention Rhode Island, and smart irrigation Rhode Island are integrated to help you find practical, code-compliant solutions.
Why Choose Professional Sprinkler Installation Services in Rhode Island?
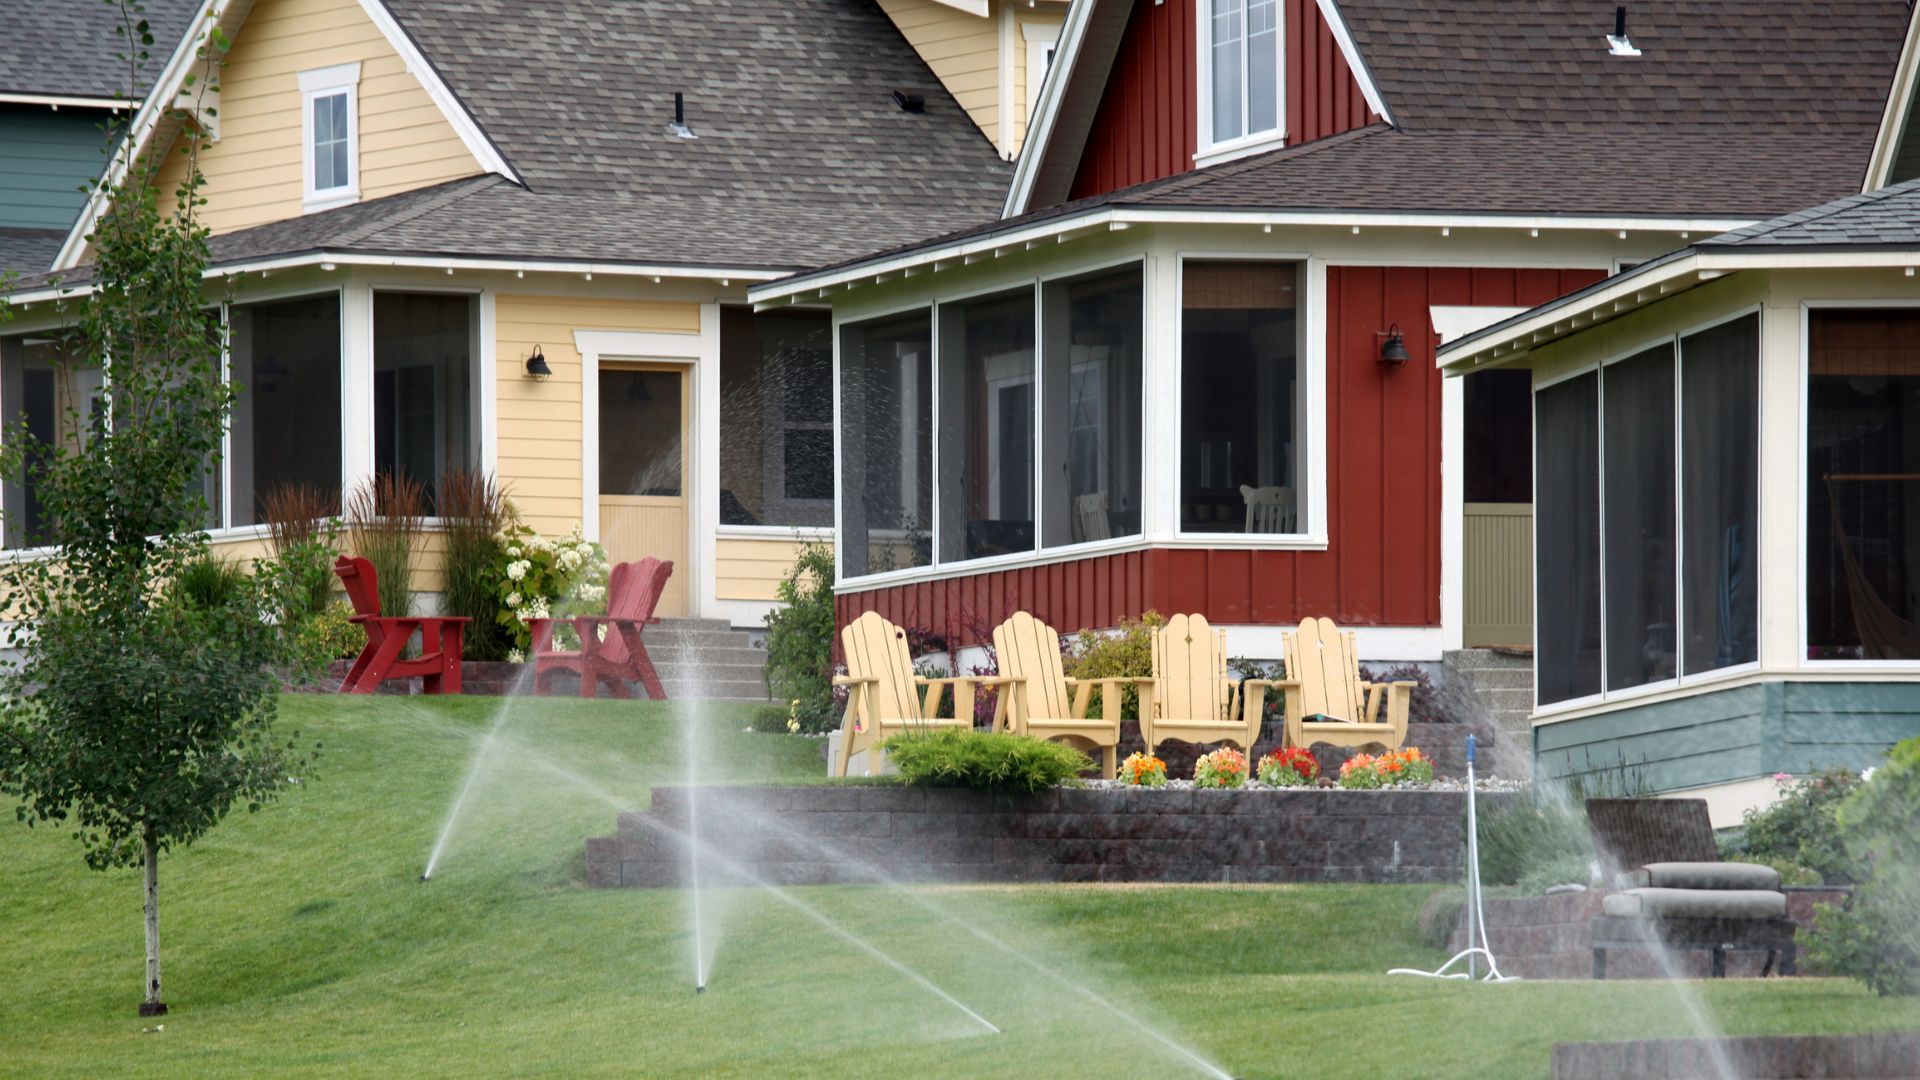
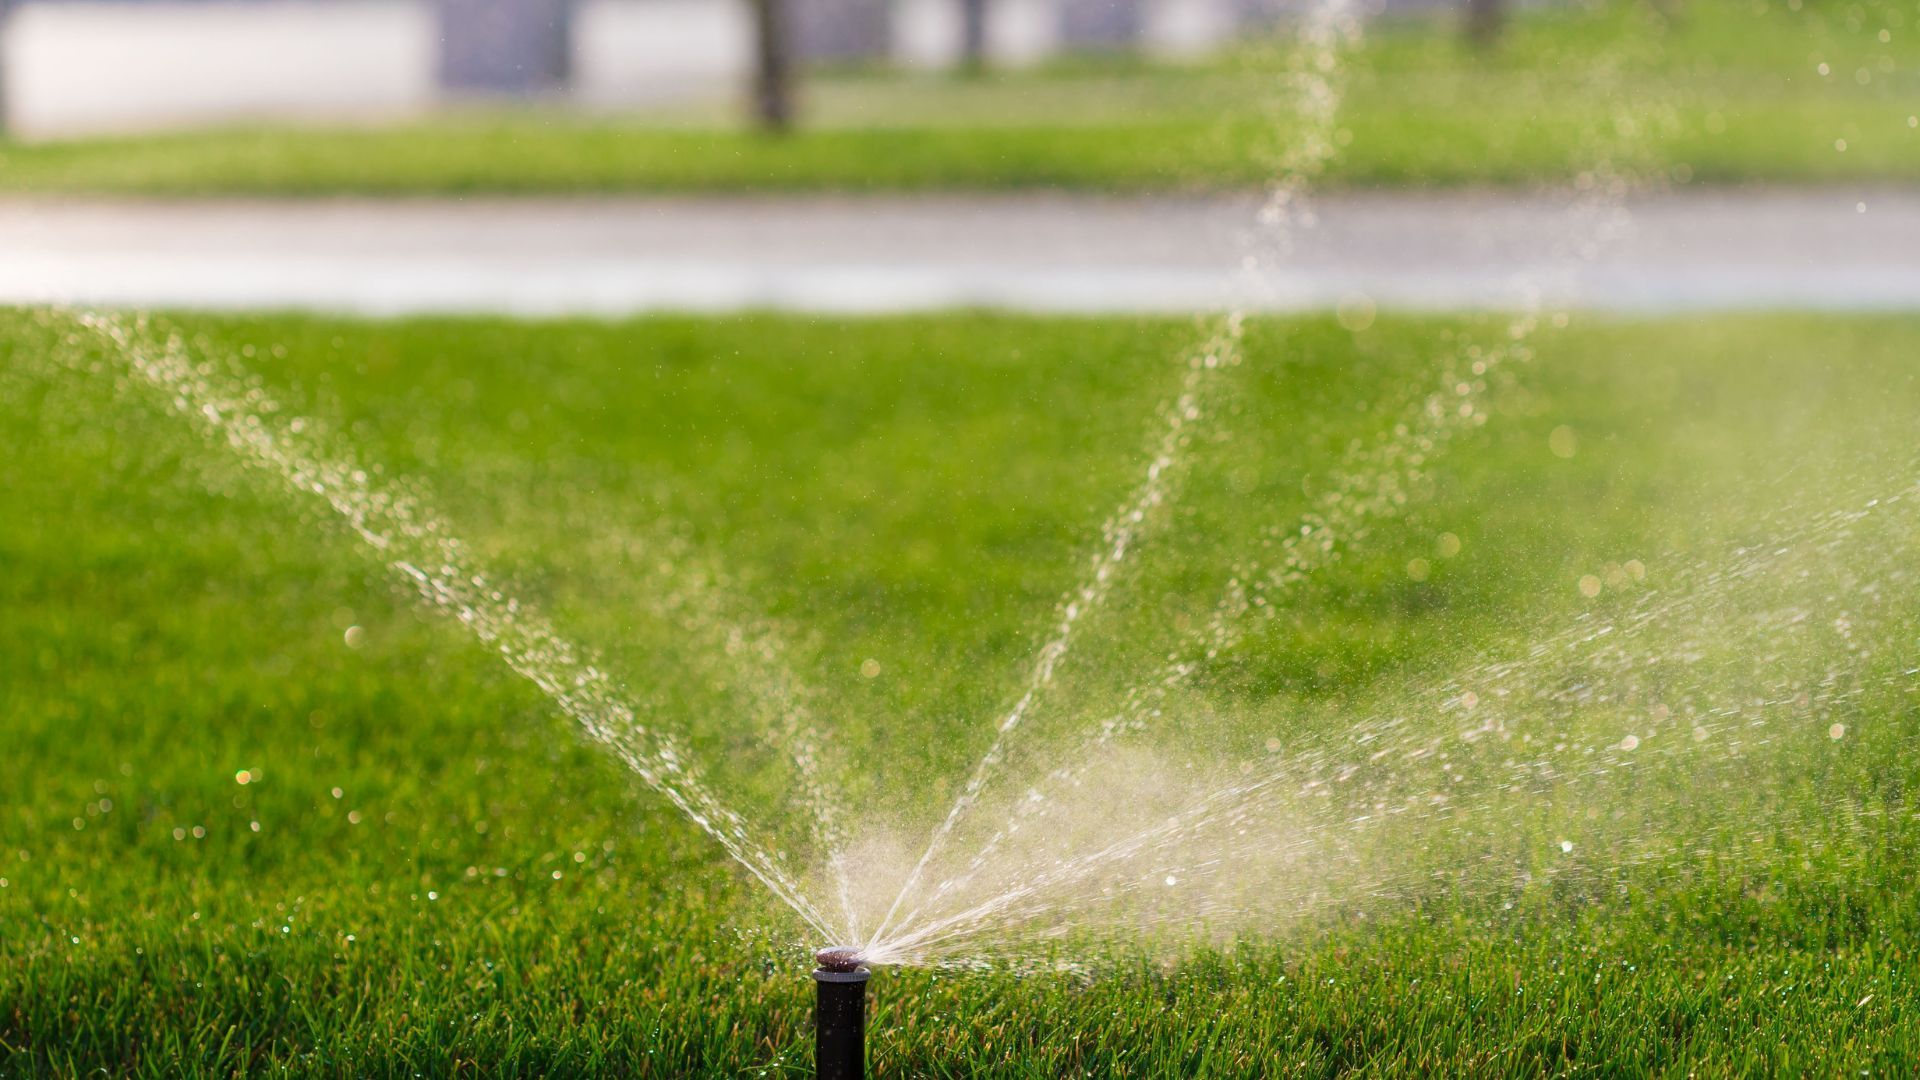
Professional sprinkler installation in Rhode Island ensures systems meet local codes, protect the public water supply through correct backflow prevention, and perform efficiently across seasonal extremes. Licensed contractors understand permit requirements, specify approved backflow devices, and design systems sized to available water pressure and flow to achieve head-to-head coverage and uniform watering. Choosing a pro reduces rework, prevents code violations, and extends equipment life by using proper materials and installation techniques. Below are three core reasons to hire a licensed irrigation contractor in RI rather than attempting a DIY install.
- Licensed contractors ensure permit compliance and proper backflow device selection for public safety.
- Professionals design systems for hydraulic balance and head-to-head coverage, improving efficiency.
- Proper installation and documentation protect warranties, reduce leaks, and lower lifecycle costs.
Hiring a professional minimizes the common mistakes that cause uneven coverage and water waste, and it prepares your property for seasonal maintenance and winterization. The next section explains what licensing and certifications you should expect from Rhode Island installers to validate those protections.
What Licensing and Certifications Should Rhode Island Installers Have?
Rhode Island installers should hold the credentials and practical experience that demonstrate competence with irrigation codes and backflow prevention protocols. Look for contractors familiar with local permitting authorities and water-district testing schedules, plus documented experience installing residential and commercial irrigation systems consistent with state guidance. Verification steps include asking for proof of licensing, written estimates that list permit handling, and documented plans showing backflow device specification and testing cadence. These validation steps help ensure an installer will manage the paperwork and technical details that protect your property and the public water supply.
Licensing affects who can apply for permits, which in turn influences the timeline and compliance. Confirming credentials early reduces the chance of inspection delays or required rework, and knowing an installer's certification status is the right step before discussing design choices or scheduling work.
How Does Professional Installation Ensure Compliance with Rhode Island Regulations?
Professional installation manages the compliance workflow from permit application through backflow device installation and local water-district coordination, ensuring mandated inspections and annual testing are scheduled. Contractors submit required documentation, install approved backflow preventers, and provide test reports that many municipalities require to protect potable water. They also size devices according to local standards and register assemblies when necessary, which avoids fines and service interruptions. Certified technicians follow standardized testing protocols and can advise on the maintenance schedule to keep assemblies valid in annual inspections.
Managing regulatory compliance up front avoids project delays and ensures the system operates within legal and safety requirements; next, we move into planning and design practices that produce efficient layouts for Rhode Island yards.
How to Plan and Design an Efficient Sprinkler System for Rhode Island Lawns
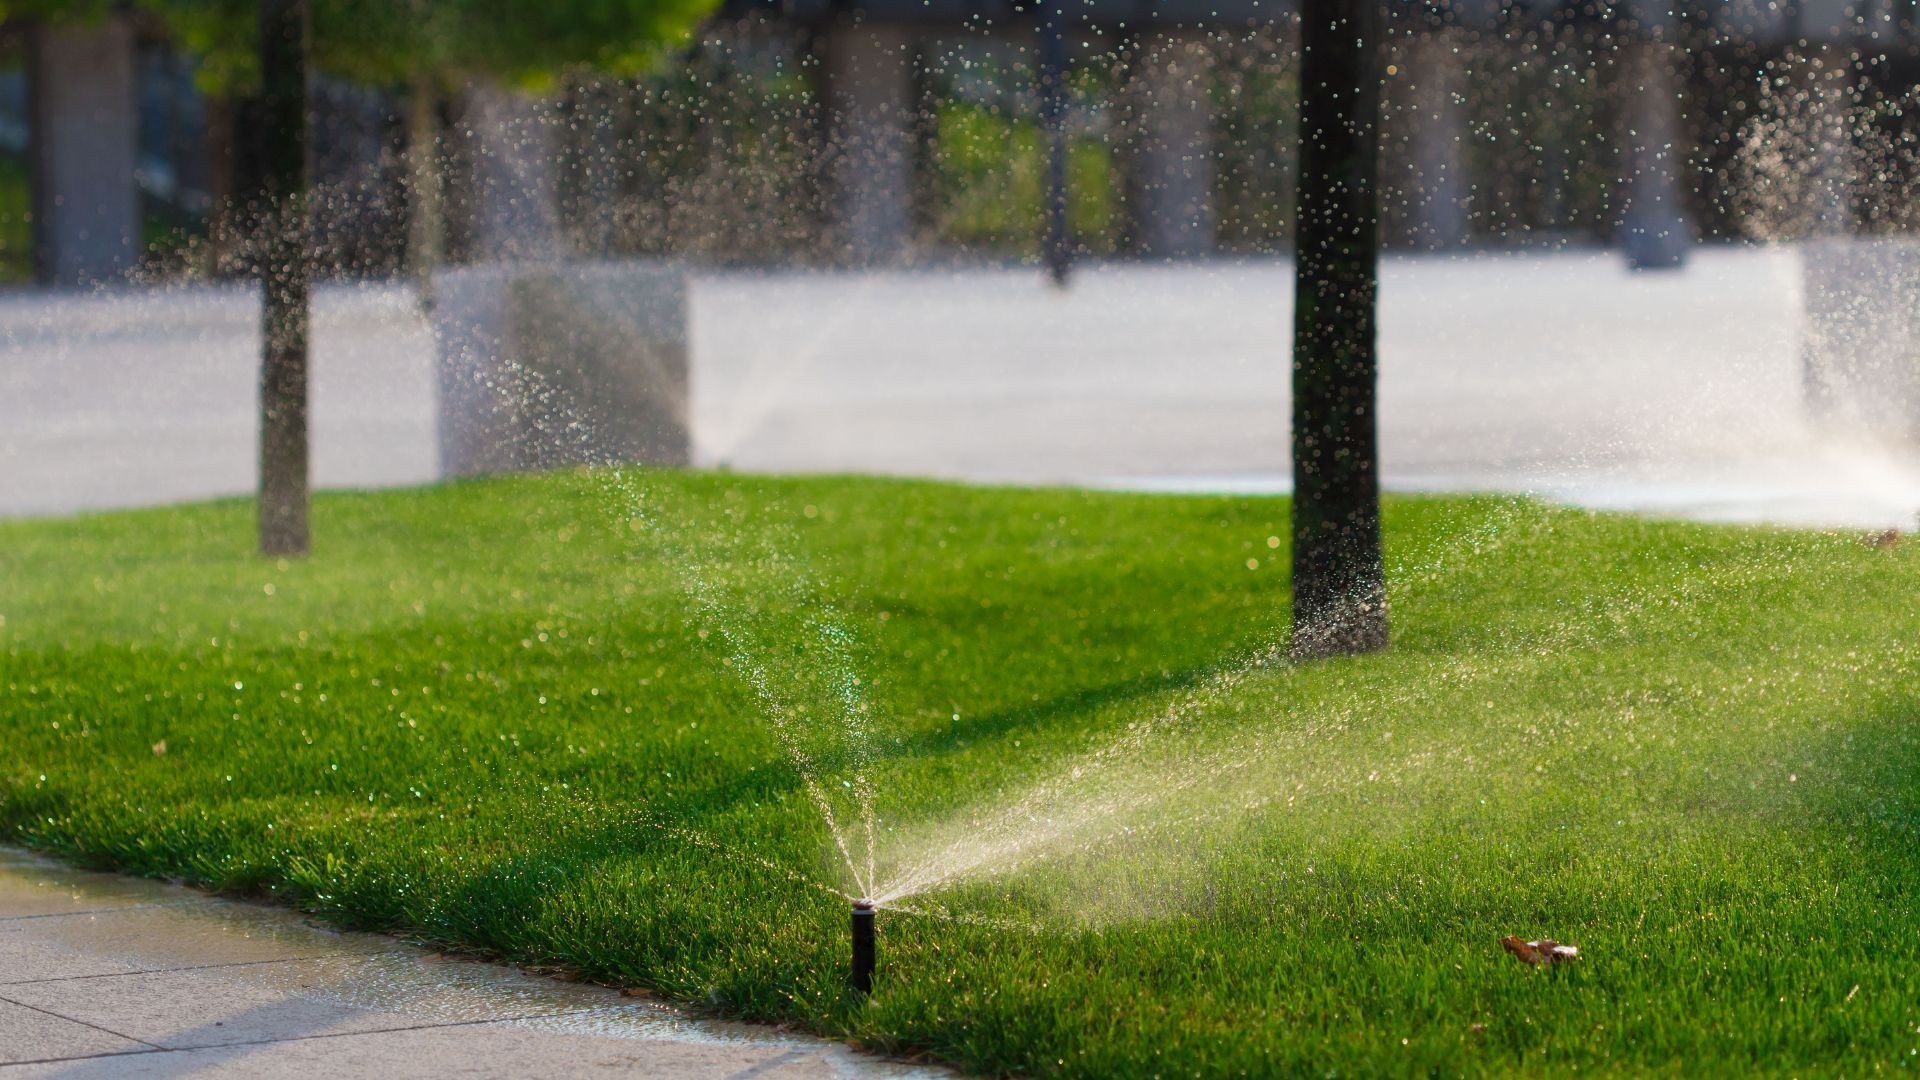
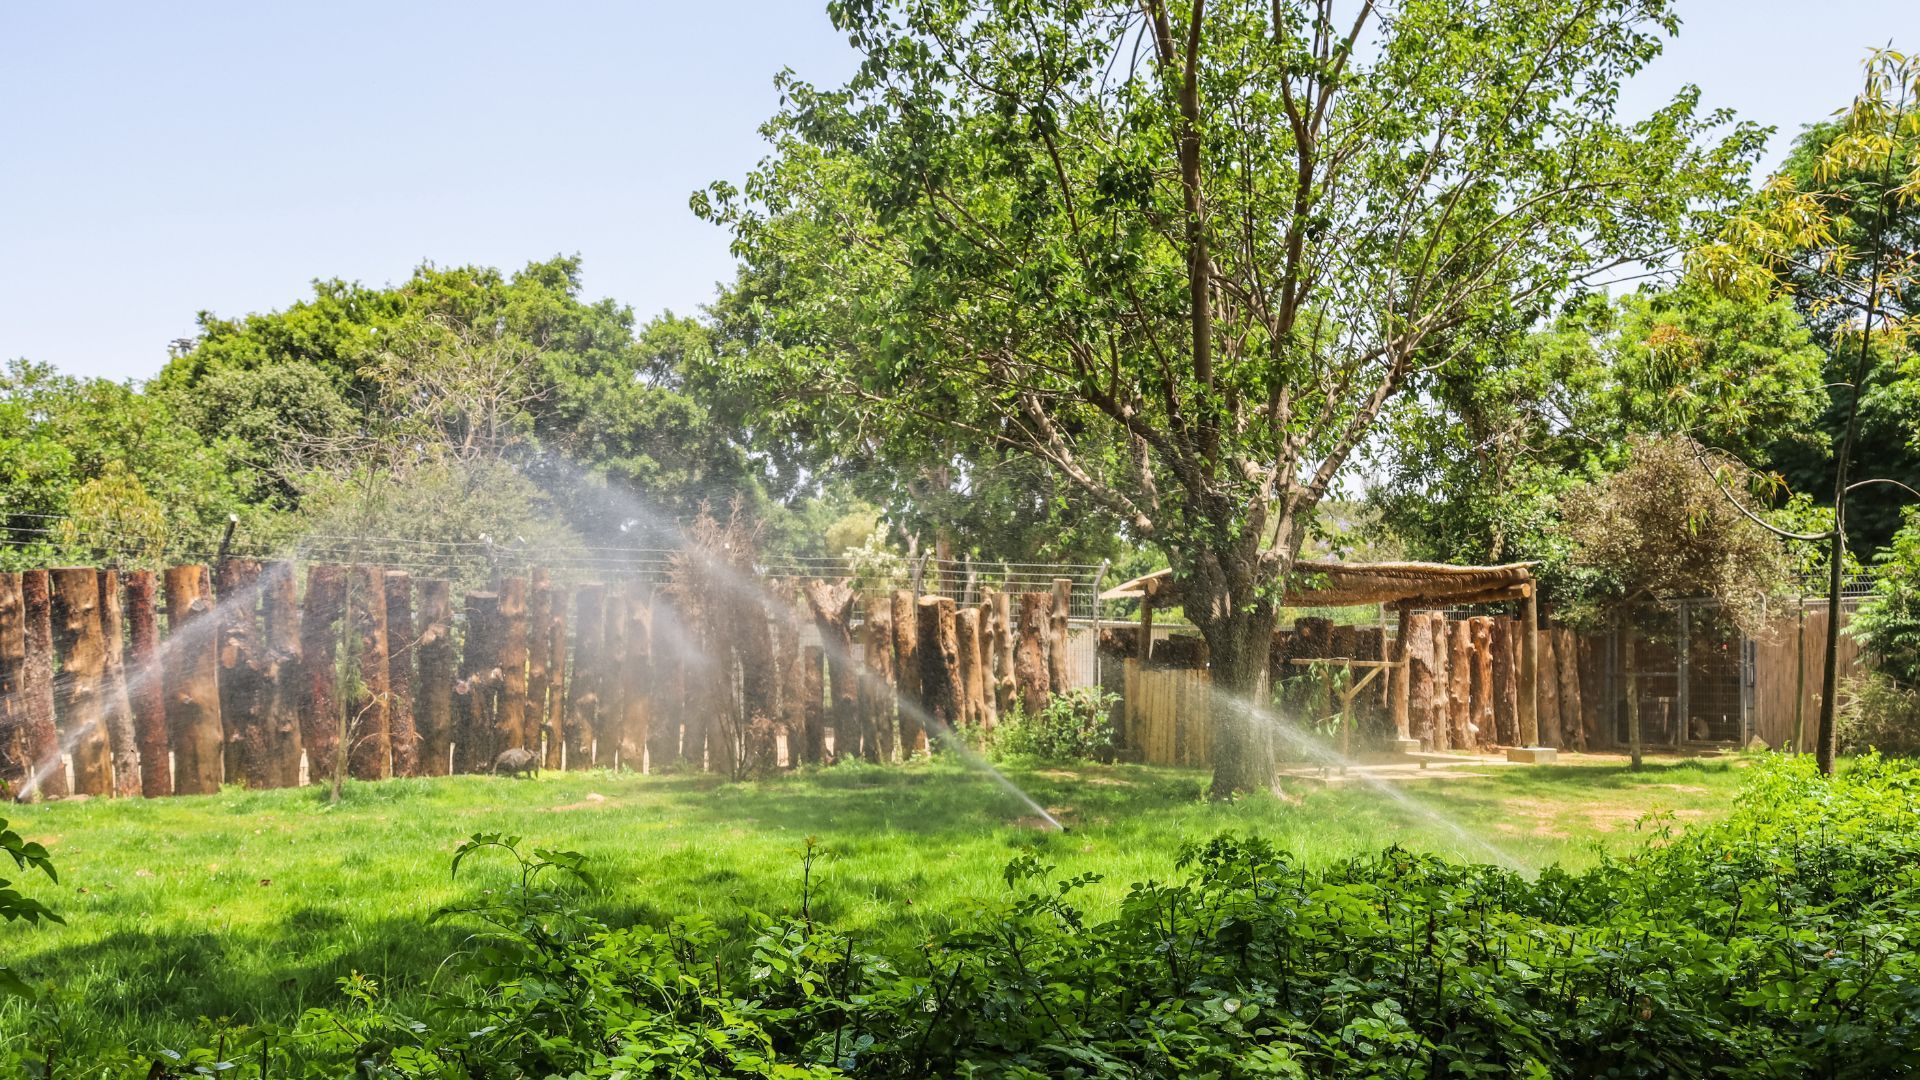
Planning an efficient Rhode Island sprinkler system starts with a site assessment that measures soil type, sun/shade patterns, slope, and available water pressure and flow; this information determines zone sizing and head selection to optimize uniformity and water savings. Proper planning uses hydraulic calculations to match pump or supply capacity with zone demand, and it integrates smart controllers and sensors to adapt schedules to RI weather. Design for head-to-head coverage, separate turf from beds with drip irrigation, and consider slope-based zoning to prevent runoff. The checklist below summarizes essential planning tasks before drawing a layout.
- Conduct soil infiltration and compaction tests and map sun/shade exposure across the yard.
- Measure static water pressure and GPM at the point of connection to calculate feasible zone sizes.
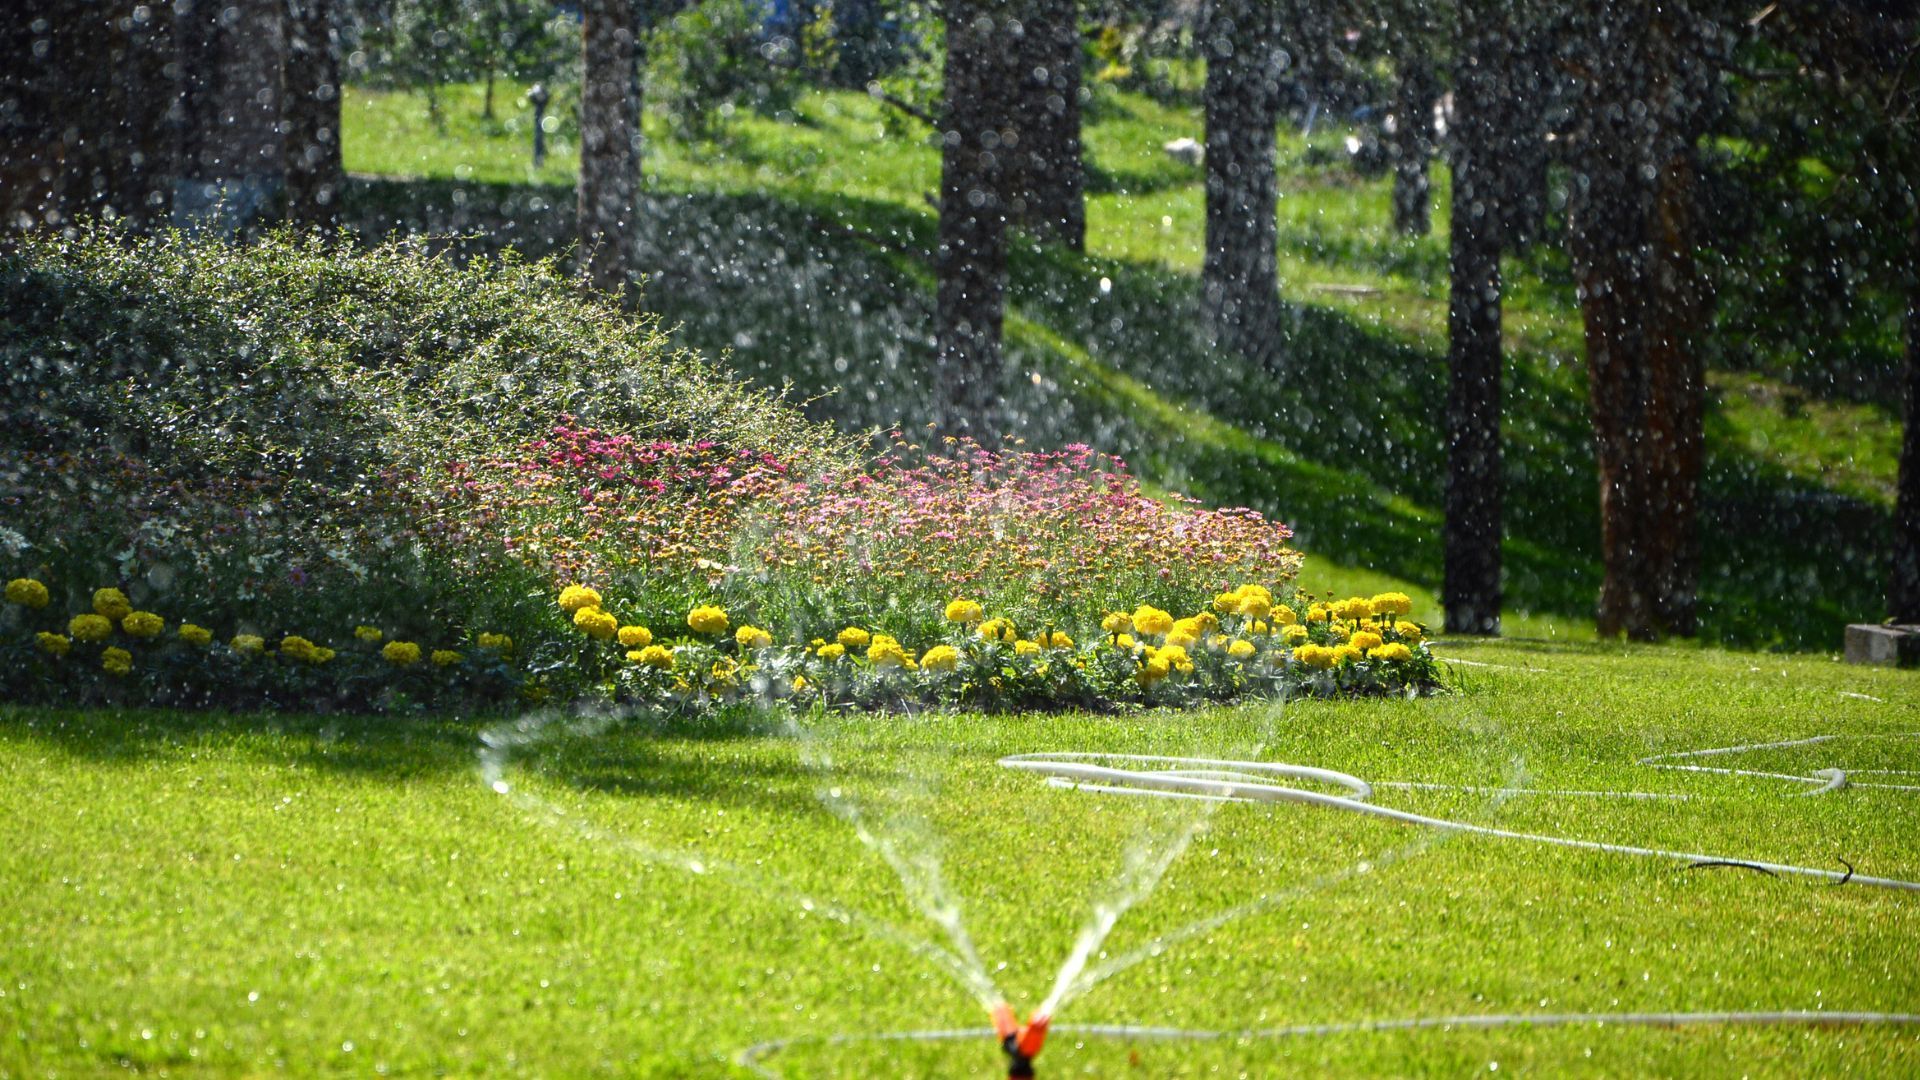
- Zone by plant type and slope, reserving drip lines for beds and rotors for large turf areas.
- Integrate smart controllers and moisture sensors to reduce over-watering in Rhode Island’s variable climate.
These steps reduce the need for later modifications and create a baseline for efficient scheduling; the following table helps compare head types and design choices appropriate for common Rhode Island site conditions.
| Head Type | Best Use in RI Conditions | Primary Advantage |
|---|---|---|
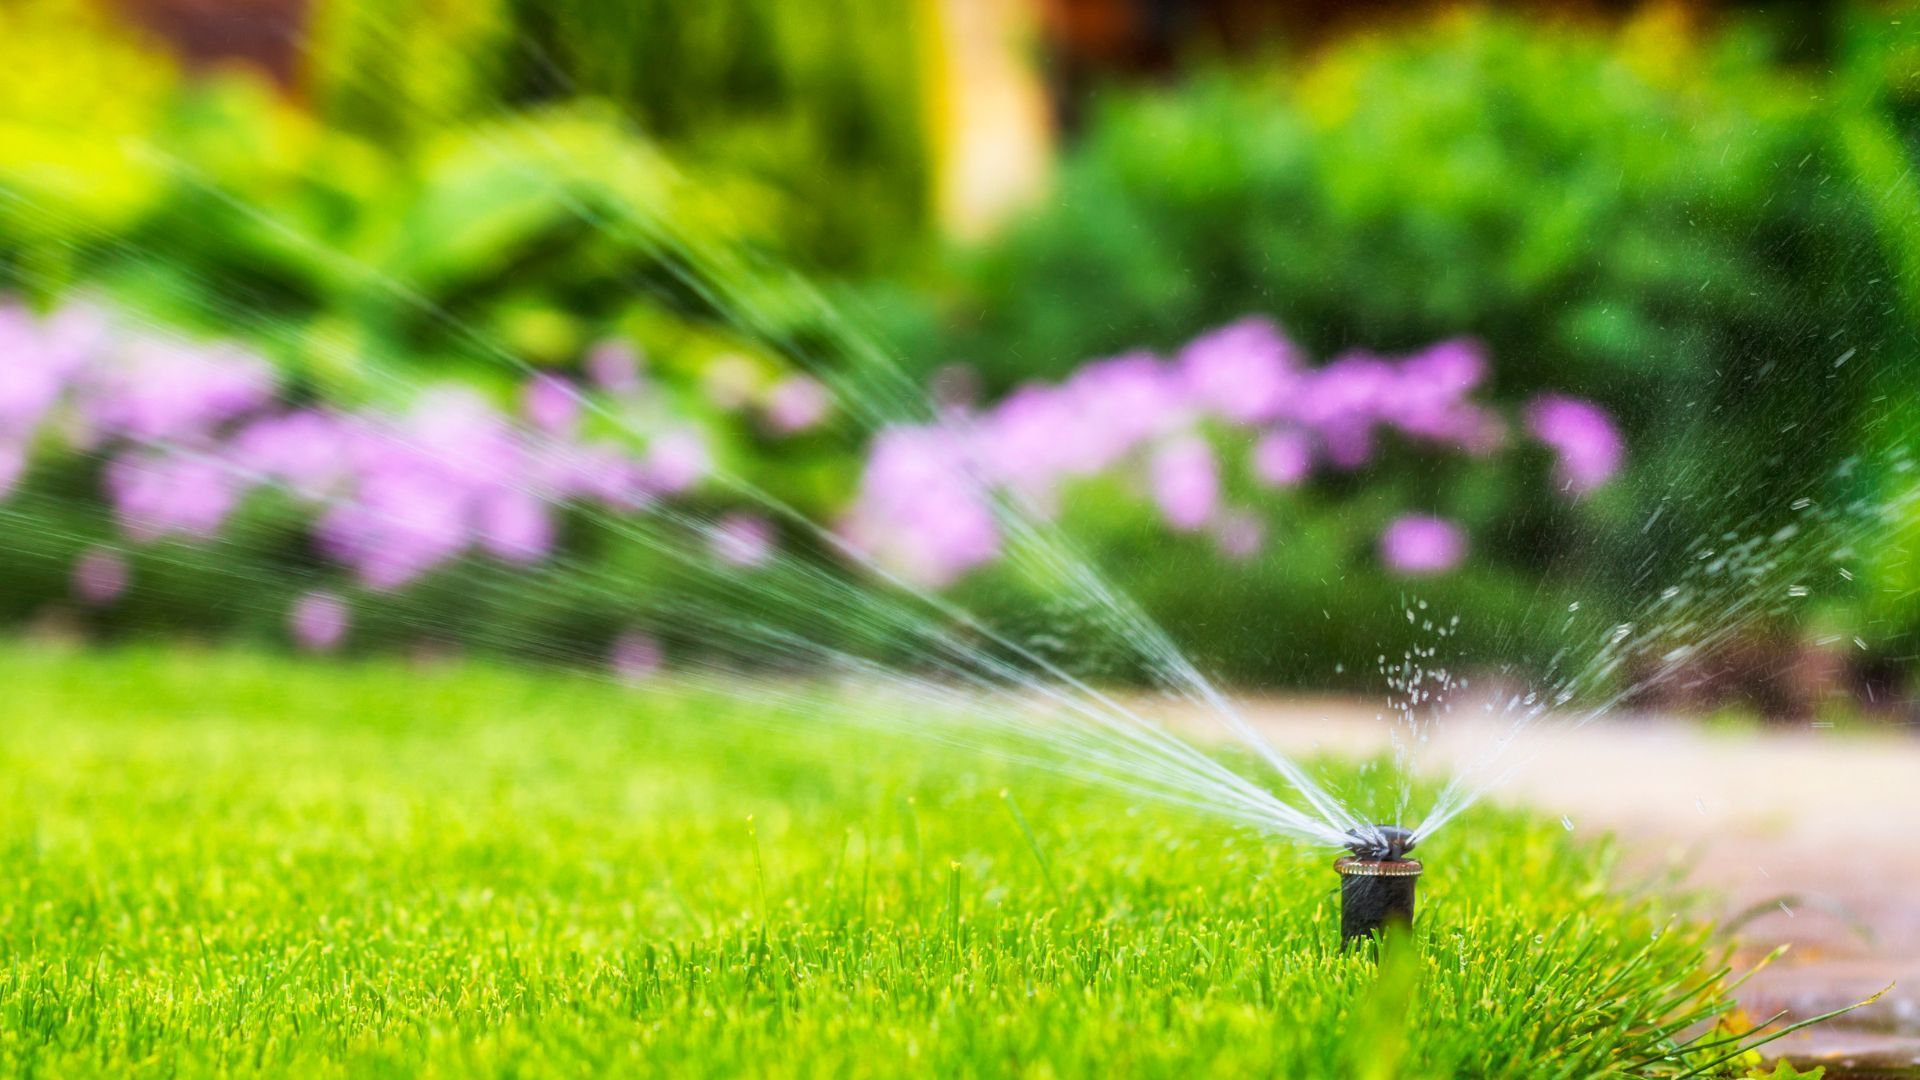
| Rotary (rotor) | Large lawns and long throw zones | High efficiency for large turf areas, lower precipitation rate |
| Spray (fixed) | Small turf areas and tight spacing | Precise pattern control for small zones and beds |
| Drip/micro | Planting beds, shrubs, steep slopes | Minimal runoff and targeted root-zone watering |
This comparison clarifies how differing head types support water management goals in Rhode Island landscapes. Choosing the right heads and zoning approach leads naturally into the detailed site assessments installers perform.
What Site Assessments Are Essential for Rhode Island Sprinkler Design?
Essential site assessments include soil-percolation checks, compaction evaluation, sun/shade mapping, slope measurement, and water-supply testing to determine pressure and gallons per minute at the meter. A simple percolation test and a hand-held pressure gauge give homeowners and professionals enough data to draft preliminary zone layouts and estimate run times. Mapping existing irrigation, noting irrigation conflicts with landscaping, and identifying likely frost-affected areas help refine valve placement and trench routing. When site complexity or supply limitations appear, hydraulic calculations by a professional ensure zones are sized to avoid low-pressure performance issues.
Proper site assessment informs head spacing, selection, and schedule decisions that maximize uniformity and minimize water waste; next, we’ll compare head types and zoning rules in more detail.
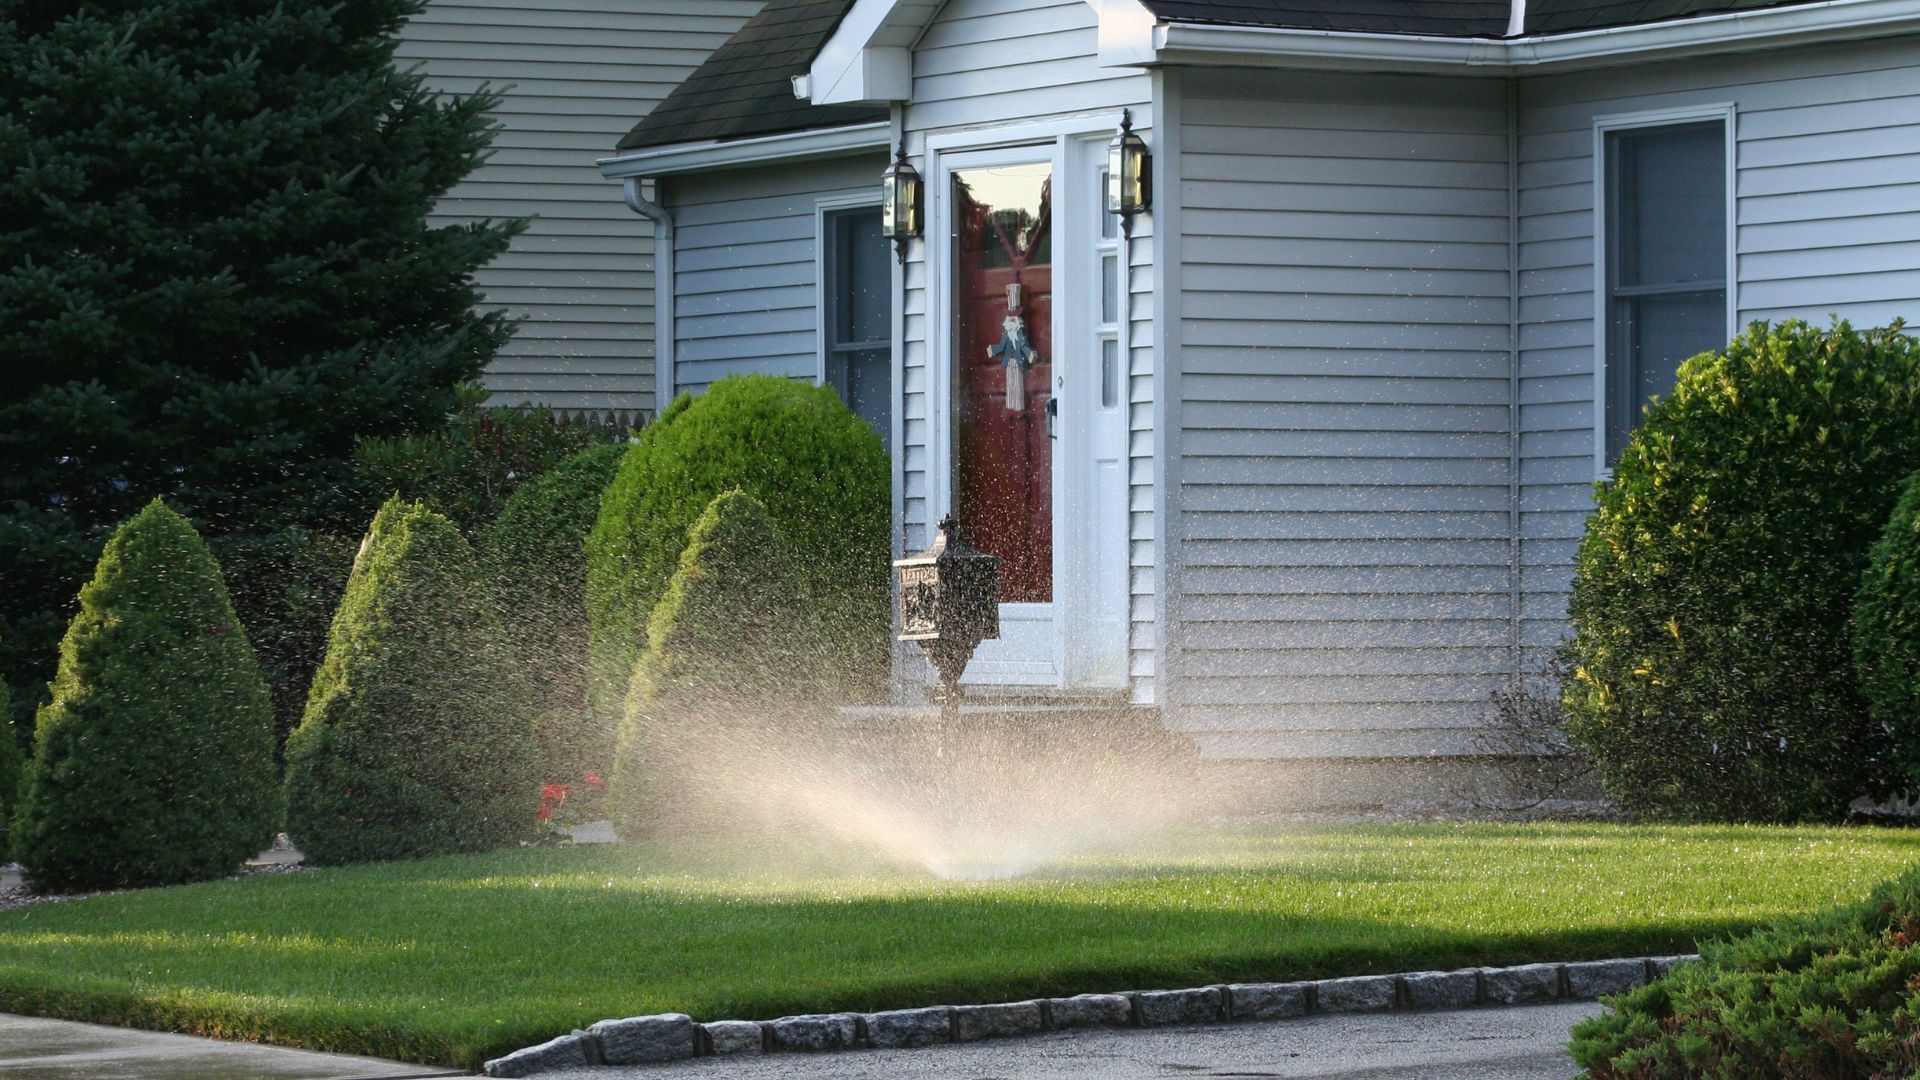
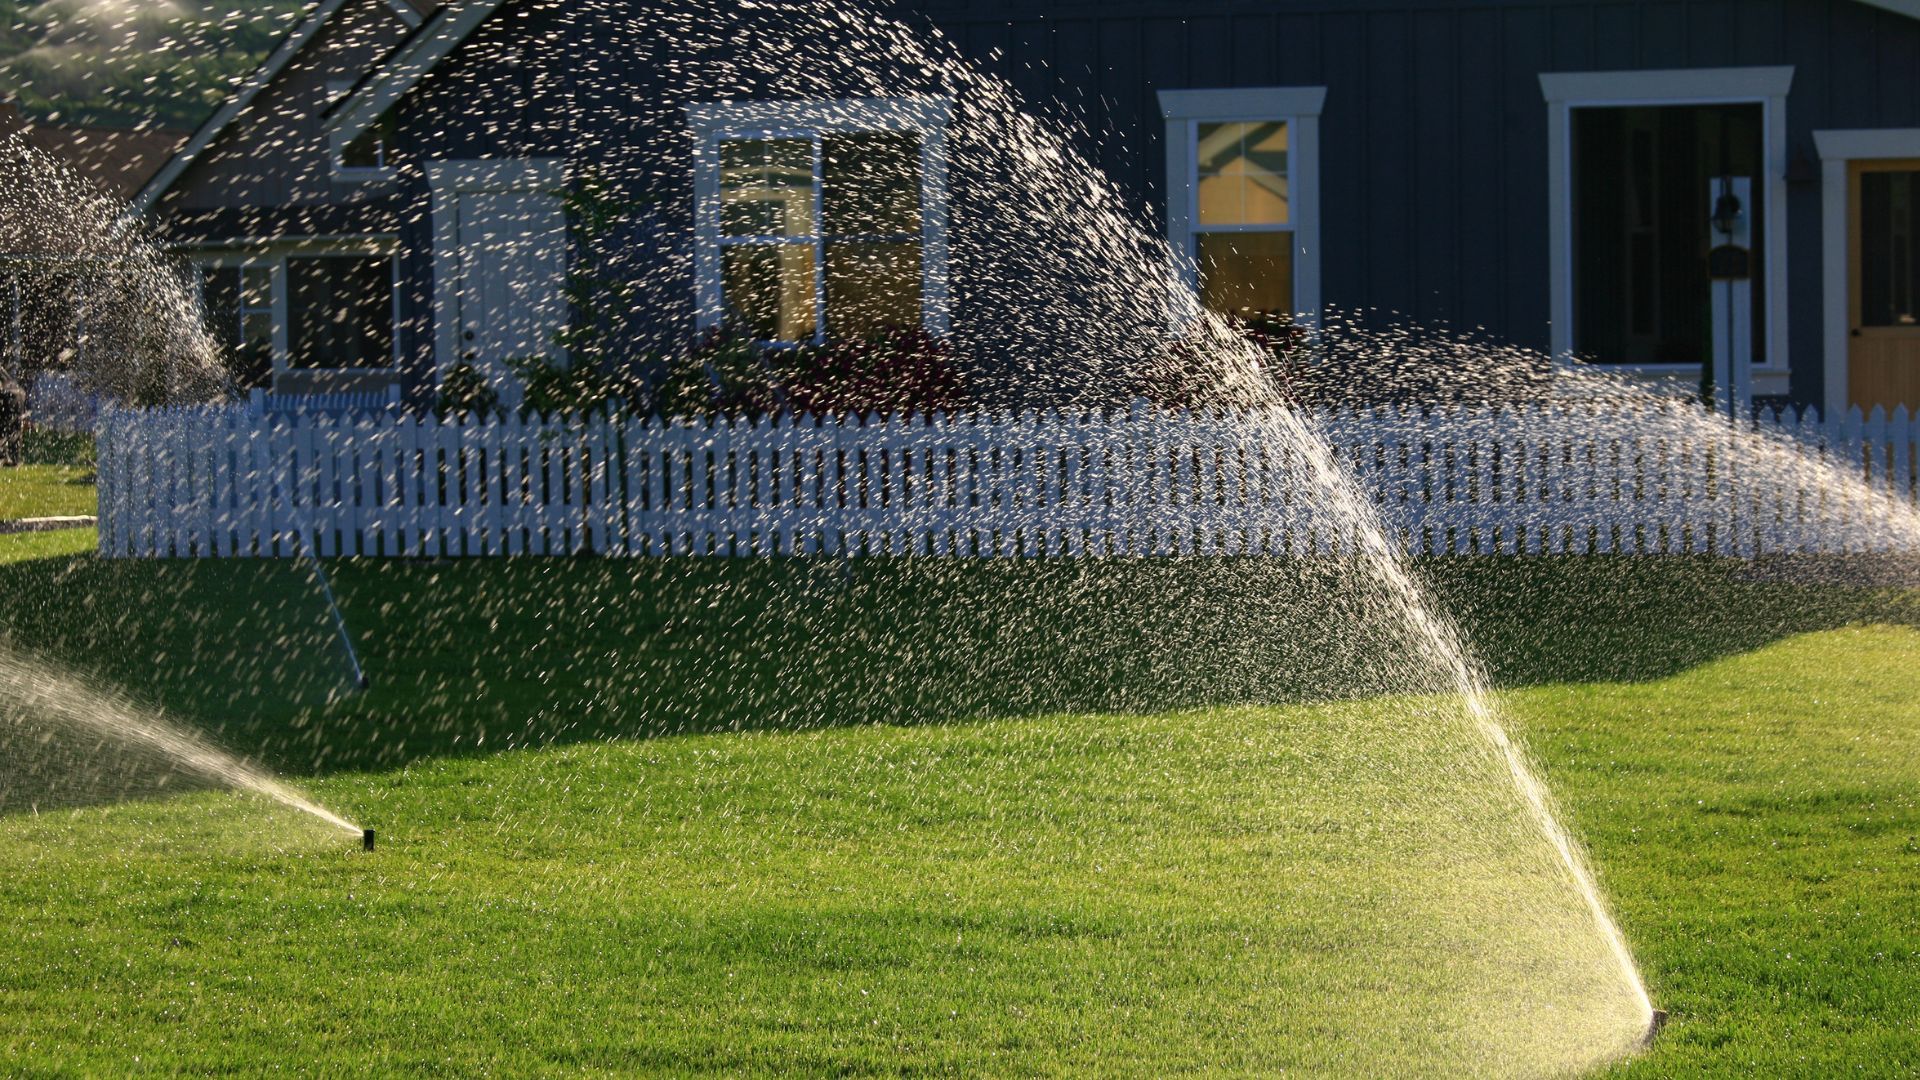
How to Choose the Right Sprinkler Heads and Zones for Rhode Island Properties?
Select heads and zone strategies by matching precipitation rates to soil infiltration and by separating plant types into dedicated zones to prevent over- or under-watering. Use rotors for broad turf zones and spray nozzles for smaller lawn patches; use drip for beds and shrub areas where deep, slow watering is preferred. Apply head-to-head spacing rules—placing adjacent heads so coverage overlaps—to improve uniformity and reduce dry spots. For slopes greater than a gentle grade, break zones into shorter run times or use low-precipitation nozzles to prevent runoff and erosion.
These zoning rules and nozzle choices reduce irrigation time and conserve water while maintaining landscape health; the next section walks through the installation steps installers use to realize these designs.
What Are the Key Steps in the Sprinkler Installation Process in Rhode Island?
The installation process in Rhode Island follows a clear sequence: obtain permits and approvals, mark utilities and prepare trenching, install piping, valves, and backflow preventer, wire the controller, and complete pressure testing and final inspection. Each step has a verification point—permit sign-off, utility clearance, pressure/hydraulic test, and backflow test—that protects the property and ensures regulatory compliance. Professionals follow a documented workflow to coordinate with water districts and schedule required backflow testing to municipal standards.
The numbered list below outlines the core installation steps commonly used on residential projects in RI.
- Permit application and utility locates to ensure lawful, safe excavation.
- Trenching, bedding, pipe installation, and valve manifold setup.
- Head placement, controller wiring, system pressurization, and leak testing.
- Backflow assembly installation, testing, final adjustments, and owner walkthrough.
These numbered steps create a predictable timeline for installation and inspection; the EAV-style table that follows shows responsibilities, typical timelines, and outcomes for each phase.
Introductory note: this table maps installation phases to responsible parties and expected timelines to clarify project flow and accountability.
| Phase | Responsible Party | Typical Timeline / Outcome |
|---|---|---|
| Permits & Utility Marking | Installer / Local Authority | 1–3 weeks; permits approved before digging |
| Trenching & Piping | Installer Crew | 1–4 days; pipes bedded and connected |
| Valve, Controller & Wiring | Installer Technician | 1–2 days; system wired and zoned |
| Testing & Inspection | Installer / Water District | 1–3 days; pressure and backflow tests passed |
This comparison helps homeowners track progress and understand which tasks the installer handles; the next subsection explains permits and backflow specifics for Rhode Island.
How to Obtain Permits and Meet Backflow Prevention Requirements in Rhode Island?
Obtaining permits typically involves submitting a site plan and equipment specification to the local building or water authority and may require proof of licensed installation and a backflow-preventer specification. Backflow device selection depends on connection type and local rules, and many water districts require annual testing by a certified tester with reported results to the authority. Professionals prepare permit packets and register assemblies where required, reducing homeowner burden and ensuring devices meet approved manufacturer and local standards. Confirming the expected testing cadence and documentation requirements before installation prevents compliance lapses.
Coordinating these steps with the installer ensures your system is approved and registered correctly; the following subsection lists best practices for trenching and piping to maximize longevity.
What Are the Best Practices for Trenching, Piping, and Controller Wiring?
Best practices include trenching to frost-depth where required, bedding pipe on clean sand or screened material, using solvent-welded joints or approved mechanical connections, and placing valves in accessible, freeze-protected boxes. Controllers should be mounted in weather-protected locations, wired with proper low-voltage gauge, and include surge protection for smart controllers, while valves should be grouped logically for serviceability. Pressure testing piping before final backfill and documenting as-built drawings reduces future troubleshooting time. Following these installation standards minimizes leaks, protects equipment in Rhode Island winters, and simplifies seasonal winterization.
Adhering to these methods ensures system reliability and ease of maintenance; the next major topic addresses cost expectations and smart-irrigation savings.
How Much Does Residential Sprinkler System Installation Cost in Rhode Island?
Residential sprinkler system cost in Rhode Island depends on zone count, component quality, backflow device type, and site complexity; typical ranges vary, but cost drivers are consistent across projects. Major contributors include the number of heads and zones, labor for trenching in difficult soils or rocky terrain, and selected controller and valve quality. Smart controllers and sensors increase upfront cost but frequently reduce water bills and operational waste over time through weather-based adjustments. Below are the primary cost drivers homeowners should consider when comparing estimates.
- Number of zones and heads required based on hydraulic calculations.
- Backflow preventer model and required tests or registrations.
- Site conditions such as rocky soil, slopes, or complex landscaping.
- Choice of smart controller and sensor integrations.
Understanding these drivers makes estimates comparable and highlights where investment yields long-term savings; the following EAV table gives a concise cost breakdown by component typical for Rhode Island installations.
Introductory note: the table below breaks typical RI installation costs into components and a representative local price band to aid budgeting.
| Component | Attribute | Typical cost (RI) |
|---|---|---|
| Sprinkler heads | Per head installed (spray/rotor) | $30–$75 each |
| Valves & manifolds | Per valve installed | $75–$200 each |
| Controller (smart) | Unit + installation | $300–$900 |
| Backflow preventer | Device + installation/testing | $300–$800 |
This component view clarifies where estimates concentrate costs and how component choices affect total pricing; the next subsection outlines how smart irrigation reduces long-term costs.
What Factors Influence Sprinkler Installation Costs in Rhode Island?
Costs rise with the number of zones, rugged or rocky conditions that slow trenching, premium-brand components, and specialized backflow devices required by some water districts. Labor rates reflect local market conditions and the complexity of routing pipe around existing landscaping or utilities; electrical hookup complexity for a smart controller can add to cost. Choosing higher-efficiency nozzles or a Rachio-compatible smart controller may increase initial cost but improve uniformity and lower operating expenses. Request itemized estimates to compare per-zone pricing and to identify where savings or upgrades produce the most value.
Transparent estimates help homeowners see trade-offs between upfront investment and durability; next, we quantify smart system savings and ROI.
How Can Smart Irrigation Systems Save Water and Reduce Long-Term Costs?
Smart controllers, moisture sensors, and weather-adaptive scheduling reduce unnecessary run time by adjusting irrigation to real-time conditions, often cutting water use by 20–40% compared with fixed schedules. Integration with local weather data and on-site moisture measurements prevents watering during rain events and reduces runoff on slopes, preserving both water and plant health. Typical payback periods depend on water costs and system complexity, but many homeowners recoup additional controller costs through lower water bills and fewer plant replacements. Monitoring features also detect leaks early, reducing repair costs and protecting turf.
Smart irrigation aligns with Rhode Island conservation goals and can qualify systems for local rebate programs; integrating these technologies during installation maximizes lifecycle savings.
JMG Professional Lawn Sprinklers is family-owned and operated, based in Warwick, Rhode Island; primary service is lawn sprinkler installation, service, and repair across Rhode Island; mentions expertise with brands Rain Bird, Hunter, and Rachio; offers free estimates; emphasizes licensed and highly trained technicians and satisfaction guarantee.
A professional installer like JMG can perform the installation steps outlined above, handle permit submissions, and coordinate backflow testing with local water districts to ensure compliance and a smooth final inspection. For homeowners who prefer a hands-off approach to hydraulic calculations, permitting, and annual backflow testing, working with a licensed local contractor reduces risk and speeds project completion.